

Creating a Facebook Page is free. You can create one for a business, brand, organization, shop, service, creator, or public figure. A Facebook Page helps you build an online presence, connect with your audience, and share updates, products, or services. It also gives people an easy way to learn more about your business and contact you directly.
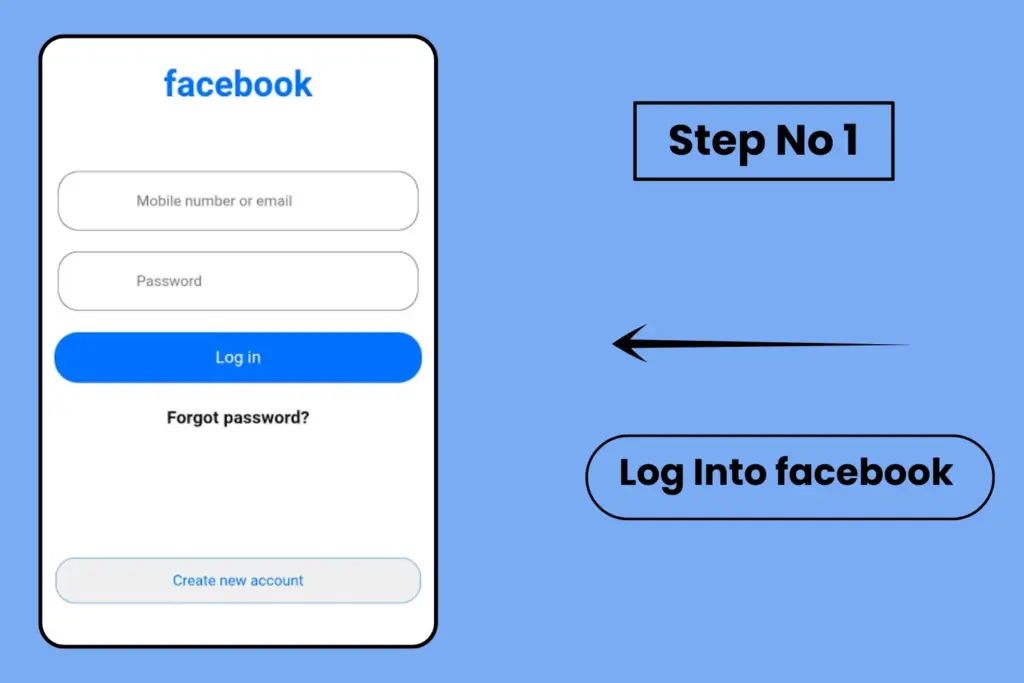
Step 1: Log In to Facebook
Sign in to your personal Facebook account. Your personal account is used to manage the Page, but your personal profile and business Page remain separate. You can switch between your personal profile and Page when needed. Your personal information will not automatically appear on the business Page unless you choose to share it.
Step 2: Go to Facebook Pages
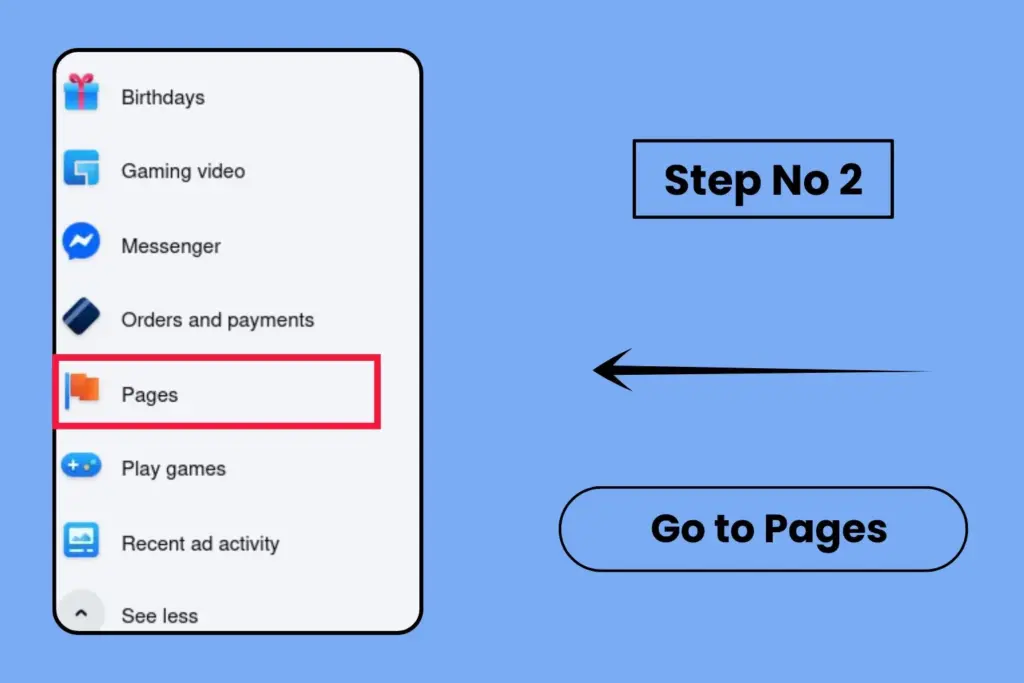
On desktop, open Facebook and make sure you are logged in to the correct account.
- Click the Menu icon on the Facebook homepage.
- Find and select Pages from the available options.
- This will open the Pages section, where you can view any Pages you already manage.
- Look for Create New Page, Create, or a similar option.
- Click it to open the Facebook Page creation screen.
You can also open the Page creation screen directly if you prefer to skip the menu navigation.
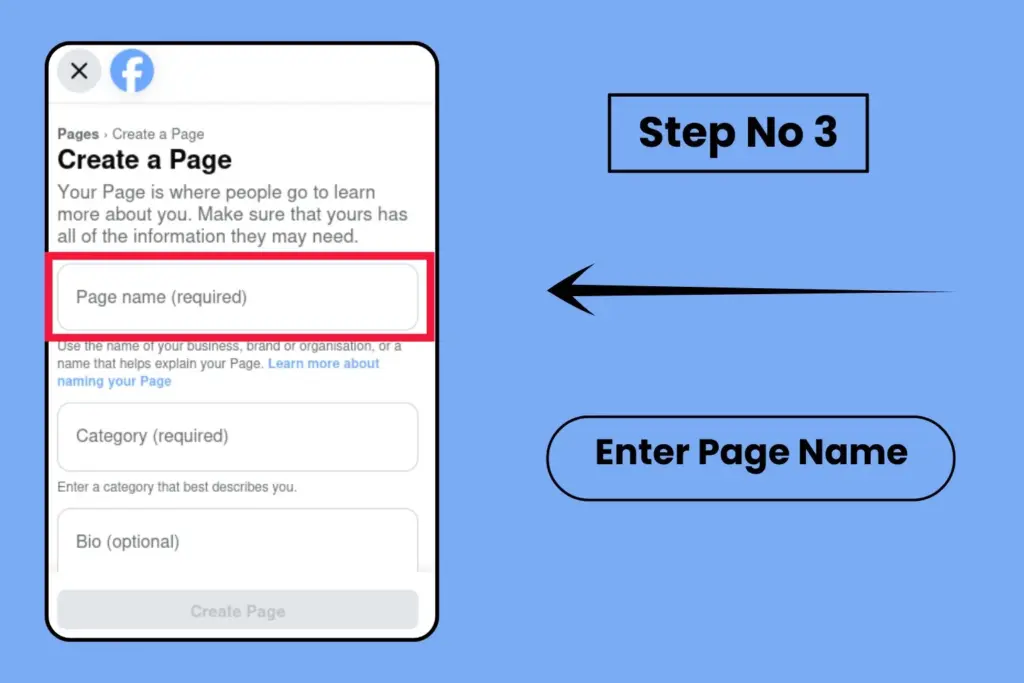
Once the creation screen opens, Facebook will ask you to enter basic Page information such as your Page name, category, and bio. Make sure you have these details ready before moving to the next step.enu names and locations, so the wording may look slightly different on your account.
Step 3: Enter Your Page Name
Use your real business, brand, or organization name when creating your Facebook Page. Your Page name should match the name customers already recognize on your website, signage, business cards, or other social media profiles.
Keep your Facebook Page name:
- Short and clear
- Easy to spell
- Easy to remember
- Consistent with your brand
- Free from unnecessary symbols or keywords
A simple and professional Page name helps people identify your business quickly and builds a stronger brand presence across Facebook and other online platforms.
Step 4: Choose A Page Category
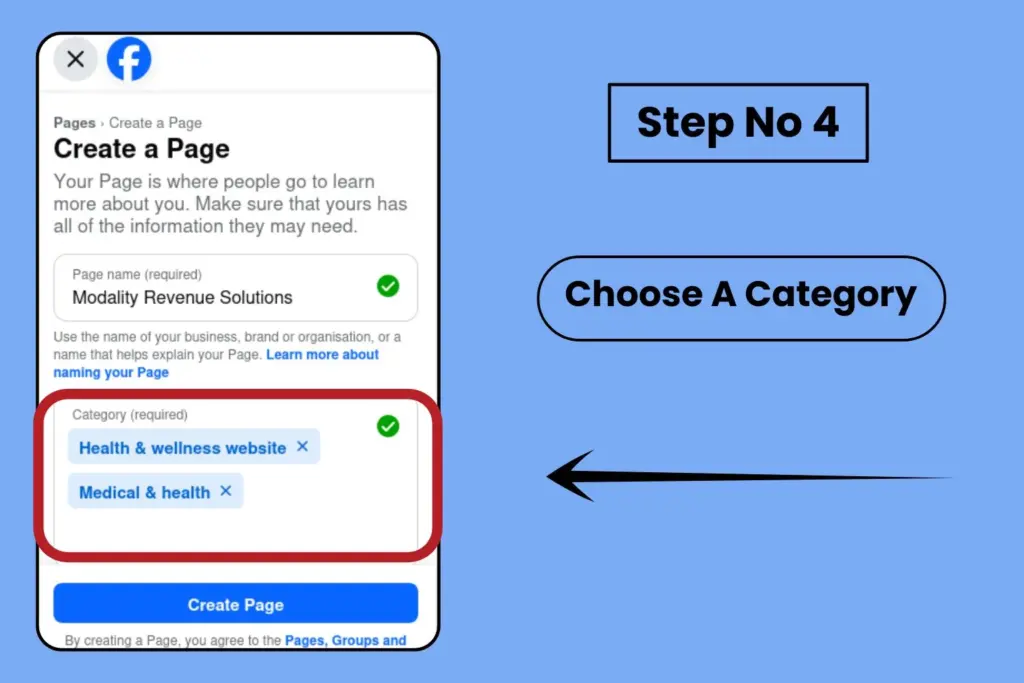
Select a category that best describes your business, brand, service, or organization. Facebook uses your category to understand what your Page represents and may use it to determine which features and information are available.Choose the category that is most closely related to your main business activity.
Examples include:
- Marketing Agency
- Restaurant
- Clothing Store
- Photographer
- Beauty Salon
- Education
Step 5: Add Your Bio
Write a short and clear description of your business so visitors can quickly understand what your Page is about. Your description should briefly explain what your business does, what you offer, and who your target customers are.Keep the description simple and clear.
Explain:
- What your business does – Explain your main business activity in simple words.
- What products or services you provide – Mention your key products or services.
- Who you serve – Identify the type of customers, clients, or audience you work with.
- What makes your business useful – Add a short benefit or value that customers can expect.
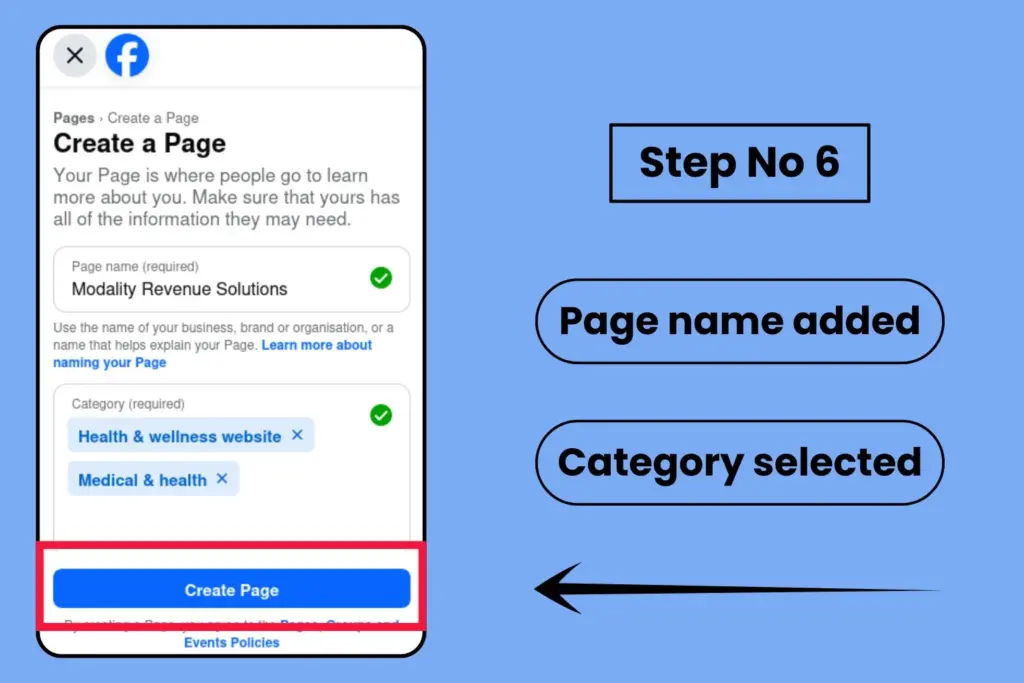
Step 6: Click Create Page
After entering your:
- Page name
- Category
- Bio
Click Create Page.Your basic Facebook Page will now be created. You can then start customizing it by adding your profile picture, cover photo, contact details, and other business information. Make sure you complete the important sections before promoting the Page to your audience.
Step 7: Add a Profile Picture
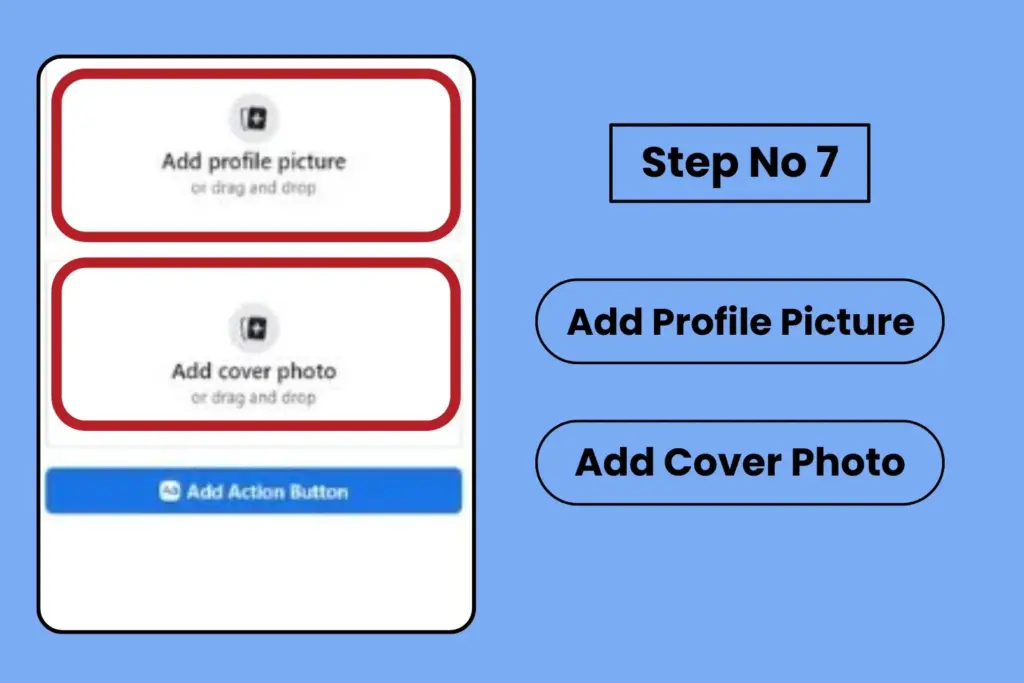
Upload a profile picture that clearly represents your business or brand. For a business, your company logo is normally the best choice because it helps customers recognize your Page quickly. For a personal brand, consultant, or creator, a professional headshot may be more suitable.
Your profile picture should be:
- Clear
- High quality
- Easy to recognize
- Consistent with your brand
- Easy to see at a small size
Avoid putting too much text inside the image, as it may be difficult to read on mobile devices. Make sure the main logo or image is centered so it still looks good when Facebook displays it in a circular shape.
Step 8: Add a Cover Photo
Upload a professional cover photo for the top of your Page. Keep the design simple and professional. Use an image that reflects your brand, main service, product, or business message. Make sure important text and visuals are easy to read and not placed too close to the edges.
Your cover photo can include:
- Your main product
- Your main service
- Your brand message
- Company branding
- A promotional campaign
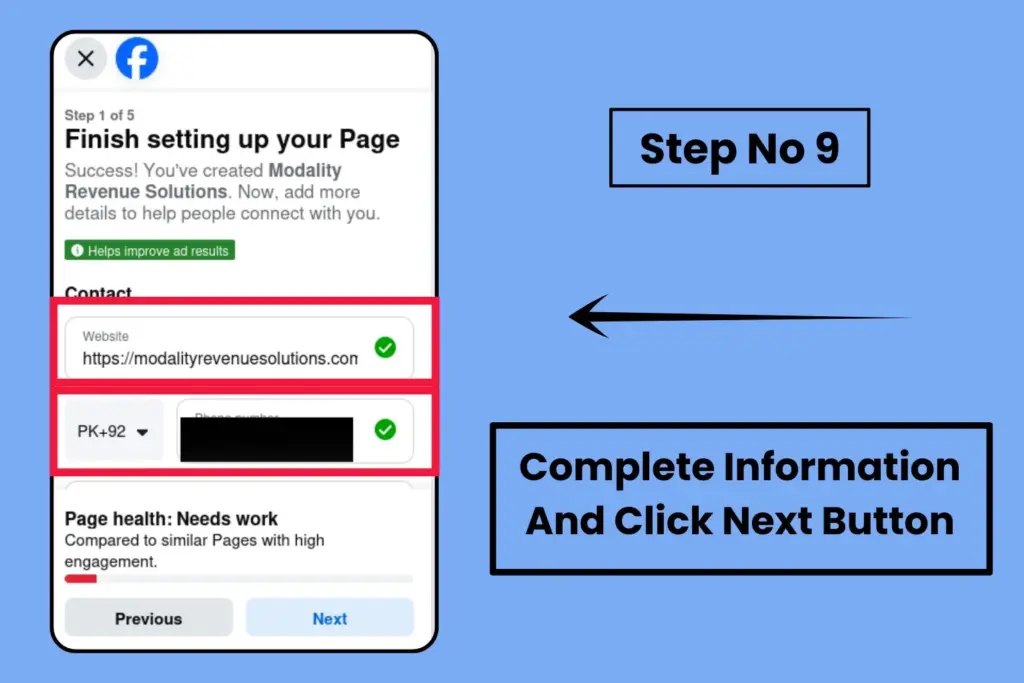
Step 9: Complete Your Business Information
Add important information about your business so visitors can quickly understand who you are and how to contact you. Include details such as your website, email address, phone number, business address, opening hours, and services where relevant.
Make sure all information is correct and up to date. Accurate business details make your Page look more professional and help customers contact or visit your business without confusion.
Depending on your Page category, you may be able to add:
- Website
- Email address
- Phone number
- Business address
- Service area
- Opening hours
- WhatsApp number
- Products
- Services
Step 10: Create a Page Username
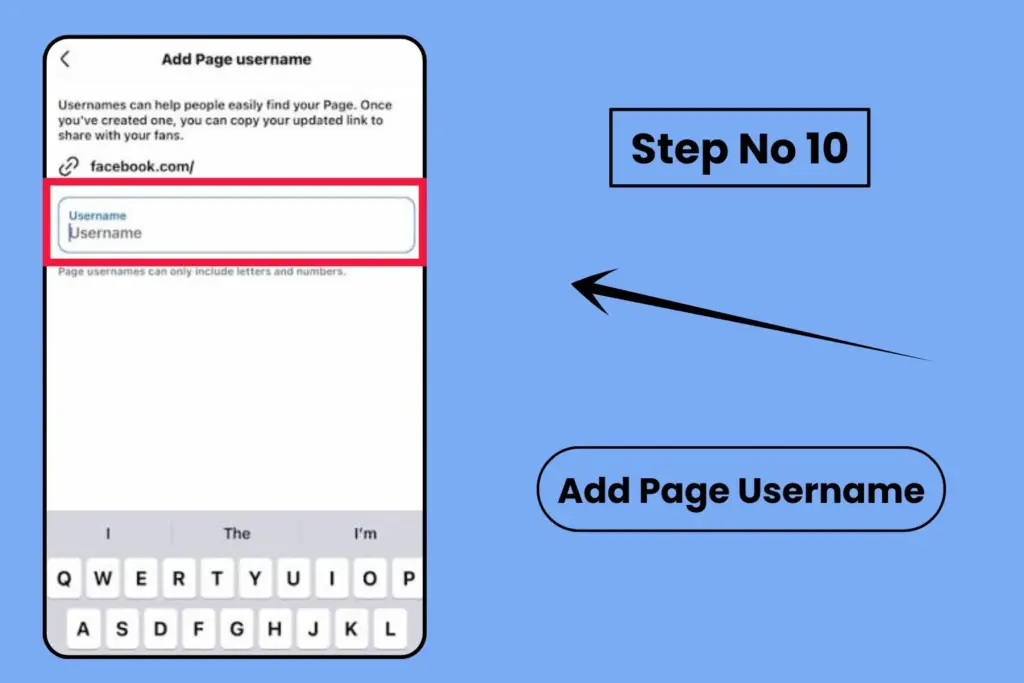
Create a simple username for your Page if Facebook gives you the option. Try to use the same username you use on Instagram and other social media platforms. A consistent username makes your brand easier to find, recognize, and remember across different platforms.
A good username should be:
- Short
- Easy to remember
- Easy to spell
- Related to your business name
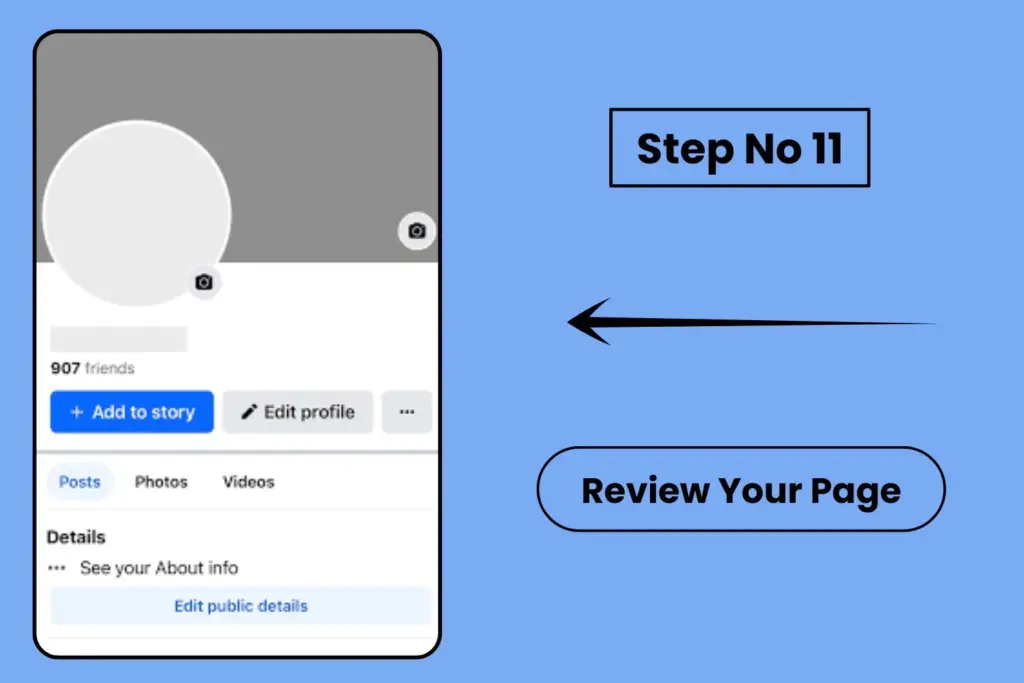
Step 11: Review Your Facebook Page
Before promoting the Page, check that you have completed everything important. Review your business details, profile picture, cover photo, username, contact information, and action button. Also make sure your Page looks professional on both desktop and mobile devices and that all links and contact options are working properly.
- Correct Page name
- Correct category
- Business description
- Profile picture
- Cover photo
- Username
- Website
- Phone number
- Business hours
- Address, if applicable
- Action button
- Instagram connection
- WhatsApp connection, if needed
- Several published posts
Still Need Help With Your Facebook Page?
Setting up your Facebook Page properly can make a big difference. Let Cloudline Media help you create, optimise, and manage a professional Facebook presence for your business.